I am feeling relieved right now. The city building inspector just left and I am wearing a smile because I passed the inspection! Well, I mostly passed the inspection. I have a couple of items I need to add/fix, and then I can move on.
First of all I need to add Boca Plates to the few areas where the PVC drain and copper water supply lines pass through the framing. Honestly, I figured he might ding me on that one. I just wasn't sure if I also needed them on the places where the electrical lines pass through. Fortunately, the code says that as long as the wires or pipes are 1.5 inches deep, no plate is needed. So, I only need to buy a few plates.
The second thing I need to add are fire blocking at the points where my drop ceiling meets the walls. Once again, I thought he might ding me for this. I recently learned about fire blocking at a very helpful basement finishing website (http://www.ifinishedmybasement.com/framing-basement/fire-block). While I didn't fully understand how to apply it to my situation, I did learn from the article that if the inspector mentions it, I shouldn't give him the deer-in-the-headlights stare of confusion. Rather, I acknowledged it and asked the inspector where all I needed them. Luckily, I only need them along a couple of walls.
Finally, (and on this one I feel a little embarrassed...I should have done my research). I didn't know that I was supposed to use treated wood on the bottom plates of the wall framing. Luckily, I will not be required to rip it all up, but merely need to seal those board with some kind of wood sealer.
So, give me a couple of hours some night, and I will be ready for drywall.
The next inspection? I will need to install the shower pan, install the wall treatment behind the tile (Hardi-Backer) and then call for another inspection. They just want to make sure that I am not putting drywall behind the tile in the shower.
Finally, the inspector told me that the one year deadline is not absolute, but that as long as I stay in constant communication with their office, I will be fine. I will pretend I did not hear that, though, as I generally need hard deadlines to get me motivated.
Here we go!

My attempt to finish my basement bathroom . . .for FREE!
Your opportunity to learn how to save big money!
Thursday, February 6, 2014
Progress Pictures
As I noted in the last post, I am ready for the building inspector to check out my framing, plumbing and electrical work so that I can start hanging drywall. Below are a few pictures with descriptions. Taking good pictures of a framed room is so difficult because there is so much junk in the background! (I trust that you will forgive me - I had to put all of the collected materials somewhere!) Plus, let's be honest - you have a few piles in your basement as well, don't you - you just aren't bold (or stupid) enough to put pictures of them online.
 In this first picture, I have tried to show the new "hallway" that I built. Because the bathroom is situated in the back half of the basement (which is unfinished), I don't want guests to feel like they are entering the dark, cold, creepy portion of the basement just to use the facilities. That would feel like a typical basement bathroom. I built this little hallway to make it feel like the bathroom was a part of the family room. From this picture, you can kind of see that I removed the door, built a wall on the right, and rough-framed for the same door to sit at the end of the little hallway. I considered opening up the entire wall and enlarging the family room, but the furnace and hot water heater sit about 6 feet back from that new wall, and I didn't want to make a closet access to them, but chose to keep them (and their noise) hidden in the darky, dingy portion of the basement.
 In this second picture (to the right), I have attempted to show the shower area. I have a 48"X32" shower pan to install. The fixture will be installed to the right, and I built a support wall on left. On the far left side of the picture, you can see a portion of the small space in which I will build a linen closet (similar to what I built when I remodeled by upstairs bathroom).
You may also notice the framing that I built to hang drywall at the ceiling. In order to get the ceiling to the required 84" height, I will have to put it right under the HVAC ducts. (I asked the inspector and he said it was okay).
 In this third picture (to the left), I have attempted to show the corner just inside the bathroom where the vanity will go. On the right side, I have a receptacle for two light switches- one to turn on the two main recessed light and the exhaust fan, and one to turn on the vanity lights. Next to it is the first of two GFI outlets.
 In this final picture, I am standing outside of the bathroom looking in. To the far left is the new doorway I built at the end of the new hallway.
To be honest, I am excited to put up some drywall. With just a few hours of work (and lots of white dust!) it will really start to look like a bathroom!
I am really praying that I pass the inspection this morning, as I have 35 days to pass the final inspection!
You may also notice the framing that I built to hang drywall at the ceiling. In order to get the ceiling to the required 84" height, I will have to put it right under the HVAC ducts. (I asked the inspector and he said it was okay).
To be honest, I am excited to put up some drywall. With just a few hours of work (and lots of white dust!) it will really start to look like a bathroom!
I am really praying that I pass the inspection this morning, as I have 35 days to pass the final inspection!
Wednesday, February 5, 2014
The Building Inspector is Coming!
Early in January I realized that I was getting close to a deadline. The building permit that I obtained for my bathroom project expires after 1 year. I remembered that I applied for it in March 2013 and reality set it: I better get going! Then I dug out the permit application to see when in March. It is March 13! I really better get going!
I have been slowly working on the framing and the plumbing. Although it took a while, I decided to use copper instead of PEX, since the rest of the house is plumbed in copper. I learned just how important flux is. At first I didn't use nearly enough on the joints and became very frustrated. Once I figured out I need lots more flux, then it went fast!
Then came the framing. The hardest part of framing was framing around the HVAC ducts in order to hang the ceiling. Lots of hammering in extremely tight spaces!
This has been a lot of work! I was glad to hear Erica tell me yesterday that it is finally starting to look like a bathroom. That was good encouragement.
I finally started the wiring a couple days ago. I learned from the inspector that bathrooms require a 20 Amp circuit, wired with 12 gauge wire. Ouch! I had plenty of white, 14 gauge wire, but alas, another trip to the store!
Yesterday's snow day really helped and I finished the wiring last night, cleaned up my tools, swept and vacuumed. This morning I called City Hall and scheduled a rough-in framing, plumbing and electrical inspection for tomorrow morning!
Wish me luck, everyone!
Monday, December 2, 2013
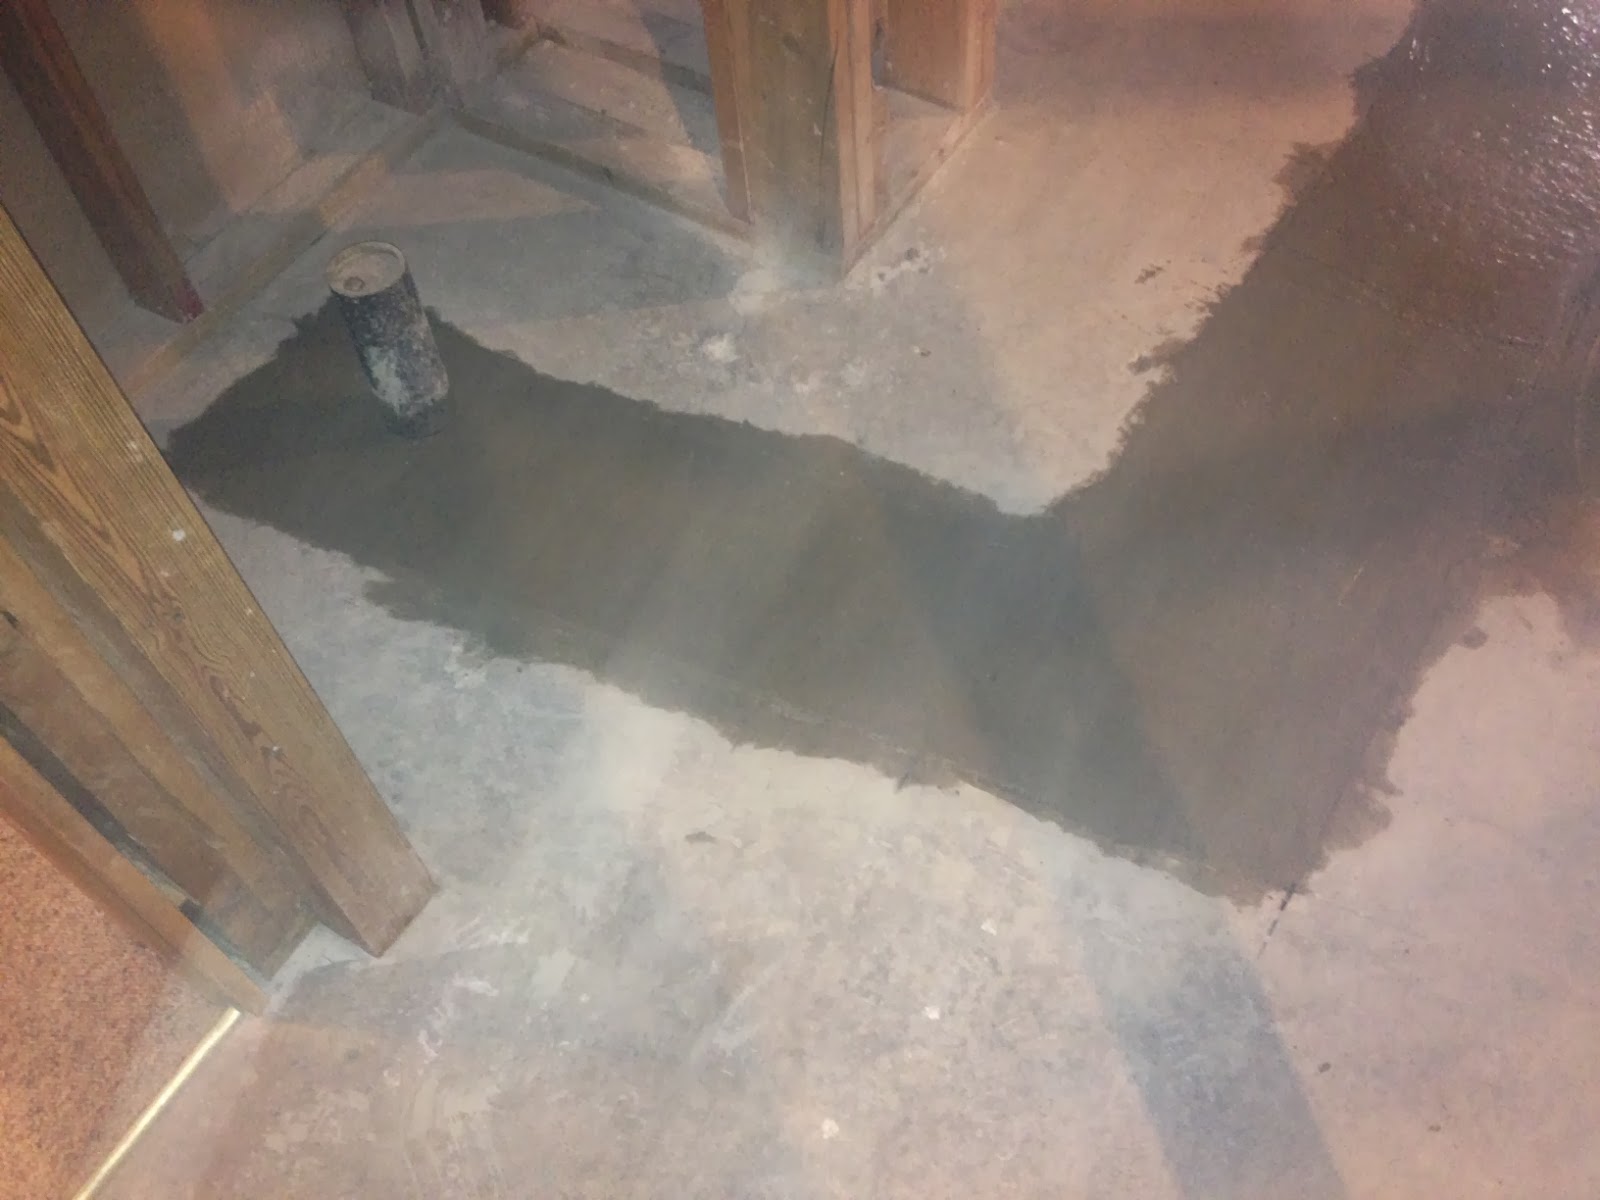
Pouring Concrete!
This morning I dragged a garden hose downstairs, hooked it up to the main water supply, and prepared to pour some concrete. My good friend Larry Stock, who owns and operates A Guy With Tools, a local handyman and contracting company, loaned me a concrete trowel and a plastic mixing bin. I had purchased 4 bags of Quikcrete (using their handy estimator tool on the company website). I also had a bag and a half of Quikcrete that I had scored from a Craigslist ad. My four year old son, Easton, was more than excited to help pour some concrete, so he used a small garden spade to help mix the water.
 I quickly realized that I would need more concrete, finished as much as possible with the bags I already purchased. The two older bags had a few hardened chunks in them, but I broke up the chunks with a handheld sledge and mixed them up and added them to the mix.
As Easton poured water, stirred cement and helped to trowel the finished portion, he only stepped into the mix once. I hosed off his shoe and when he discovered that his shoe, socks and pants were wet, he was done for the morning and found a video game while I finished the job.
 In the end, I had to purchase three additional bags, but I was done by noon. I left the part surrounding the shower drain open so that I would have room to adjust the drain to match the opening in the shower pan. I am pretty inexperienced with concrete, so I mixed it too wet. Several hours later, it was set up and beginning to cure.
Total cost for the concrete: $28.61
Total cost for the project so far: $304
Wednesday, November 27, 2013
Not-So-Free
When I began this project almost two years ago, I dreamed of doing this entire project for free. I know - a crazy dream! Can you really take a framed, stubbed half bath and expand it to a full bathroom and finish the entire thing for free? Maybe!
Okay, maybe not, but we are trying! I figured there were a few things I would never find for free on Craigslist. Nobody is really going to give away copper tubing and fittings, right? After all, thieves will pull the wires from houses under construction, strip the insulation and sell the copper!
At this point in the project, I just need to get it done. I can't wait around for free stuff to show up on CraigsList. So I am pretty much buying what I need at each step. Later today I will buy 14 2X4s and 6 bags of QuikCrete for the floor. It is okay, though! It is time to get the project done! I will keep looking for deals for what I need, but I will also buy what I need at the time.
So here is a financial update on this project, having just completed one stage.
Building Permit: $231.00
Cutting the floor to plumb the shower drain: $7.20 Thanks to my friend Brett, all I had to buy was some plastic drop cloths to cover the vents, washing machine, furnace, etc.
Shower drain supplies: $97.88 (I bought some 2" ABS pipe at the Habitat ReStore to vent the drain, and since I am not using it, I am hoping to re-sell it on CraigsList. Hopefully that will bring this price down.)
Water lines supplies: ? (I just bought some copper tubing and fittings today for about $80, and I hope to return some of it, so we will see...)
So as of now this project has cost me $275, including the permit, but not including the water line supplies.
Maybe I should have called this the one thousand dollar bathroom project!
Monday, November 25, 2013
I passed the first inspection!
Some people have the project that will never end. This has felt like the project that will never begin. After one year of collecting materials, I finally got a permit in March, but then didn't really start the project. I knew that the first part would be the hardest for me, as I have no experience cutting into floors and plumbing drains. So I waited, procrastinated, etc. I finally asked a friend to help me cut into the floor. Then I waited some more, did some "research" on how to properly plumb a drain, and waited longer...Yes, I am a classic procrastinator.
Like most procrastinators, I need a deadline. And I discovered on in the fine print of the building permit. If I did not start the project within 6 months of the application date, the permit would be void. Likewise, if I don't finish within 12 months, the permit will be void. I already paid way to much for a crazy permit, I don't want to pay for another!
So last week I dove in again. I knew that I wanted to connect the shower drain to the main line, but wasn't sure if there were code issues with doing that. Just to make sure I was doing everything correctly, I stopped by City Hall and talked to the building inspector. He said I could do it, but told me that I needed a back-water prevention valve to insure against sewer water backing up through the shower drain. That cost me $40, but to be honest, I was worried about this issue anyways. After all, a shower drain in a basement is a virtual floor drain, and backups are nasty, and tend to ruin nice bathrooms! However, he also told me that since I am running only a 3 foot drain to the main line, I could wet vent the drain and would not have to run vent pipes! That saved me some money! I am glad I talked to him!
On Saturday morning, armed with everything I needed, I cut into the main line. It was do-or-die. After all, there would be no flushing in our house until it was all glued back together. I purposefully waited until I had plenty of time, with many hours available to run to the store. (You don't start this kind of thing at 9 PM) It took longer than expected, but I got it done.
This afternoon, the building codes inspector stopped by and approved the drain system and told me I can fill my holes, pour concrete, and move onto the rest of the framing, plumbing, and electrical!

 |
| I cut the main toilet drain! |
Like most procrastinators, I need a deadline. And I discovered on in the fine print of the building permit. If I did not start the project within 6 months of the application date, the permit would be void. Likewise, if I don't finish within 12 months, the permit will be void. I already paid way to much for a crazy permit, I don't want to pay for another!
So last week I dove in again. I knew that I wanted to connect the shower drain to the main line, but wasn't sure if there were code issues with doing that. Just to make sure I was doing everything correctly, I stopped by City Hall and talked to the building inspector. He said I could do it, but told me that I needed a back-water prevention valve to insure against sewer water backing up through the shower drain. That cost me $40, but to be honest, I was worried about this issue anyways. After all, a shower drain in a basement is a virtual floor drain, and backups are nasty, and tend to ruin nice bathrooms! However, he also told me that since I am running only a 3 foot drain to the main line, I could wet vent the drain and would not have to run vent pipes! That saved me some money! I am glad I talked to him!
On Saturday morning, armed with everything I needed, I cut into the main line. It was do-or-die. After all, there would be no flushing in our house until it was all glued back together. I purposefully waited until I had plenty of time, with many hours available to run to the store. (You don't start this kind of thing at 9 PM) It took longer than expected, but I got it done.
 |
| You must use a "Y" connection when tying into a drain line! |
 |
| Note the cool clean-out access for the backwater valve! |

Wednesday, September 25, 2013
Back At It...Again
The building codes department of the city of Raymore called me last
week to inquire about the status of the project. I was glad to tell
them I had started the plumbing and the framing, as the building permit
expires if you do not start the project within six months of issuance of
the permit. I was embarrassed to tell them I was not far along.
But I am feeling a renewed energy for the project. (In the last few months I have been working on building a nightstand for my daughter. It was suppose to be a birthday present....last January!) Two nights ago I did more framing and plumbing prep. Unfortunately the batteries in my drill died and stopped me for the night.
I am determined to get this project finished! Hold me accountable, my friends! Let nothing stop me!
For in a few weeks, I will have pictures of a framed bathroom, completed plumbing and completed electrical!
By the way, here are a few pics of the nightstand that I made using mostly scrap wood. I only had to purchase one 18" X 48" board, which I used for the top and for the bottom shelf.


Subscribe to:
Posts (Atom)