Saturday, May 4, 2013

I Finally Started Construction

A "point of no return" is just that - the result of a decision or action from which there is  no going back.  Kind of like the minute your toe leaves the diving board.  You will get wet.  After a year of gathering materials and, honestly, just procrastinating, I cut a big hole in my basement floor.  And we are not looking back.  This unused space is on its way to becoming a working bathroom.

This bathroom was designed and roughed in to be a mere half bath.  But we realized that we needed one more full bathroom in order to make it easy for guests to shower.   It is not too difficult to add a shower - except for the drain.  The drains are already plumbed for a sink and a toilet, but not for a shower.  In order to add a shower drain, I have to connect to to the existing drains, and vent the line to an existing vent pipe.  That means cutting a trench in the concrete.  Not too difficult, right?


I was initially going to cut the floor with a circular saw equipped with a masonry blade.  It probably would have worked.  But it would have taken a long time.  It turns out that the floor was 5" thick in some places, so it would have taken a really, really long time!  When my friend Brett heard about my project, he volunteered to bring his gas powered concrete cut-off saw with a 14" blade.  That did the trick.  It even has a water line attachment, to which we connected a garden hose.  Nice!  We vented the room and covered the doors, furnace and laundry machines with plastic.  I ran the wet vac and Brett sawed the floor.  He broke up the concrete and I pried out the chunks.  It went fast!

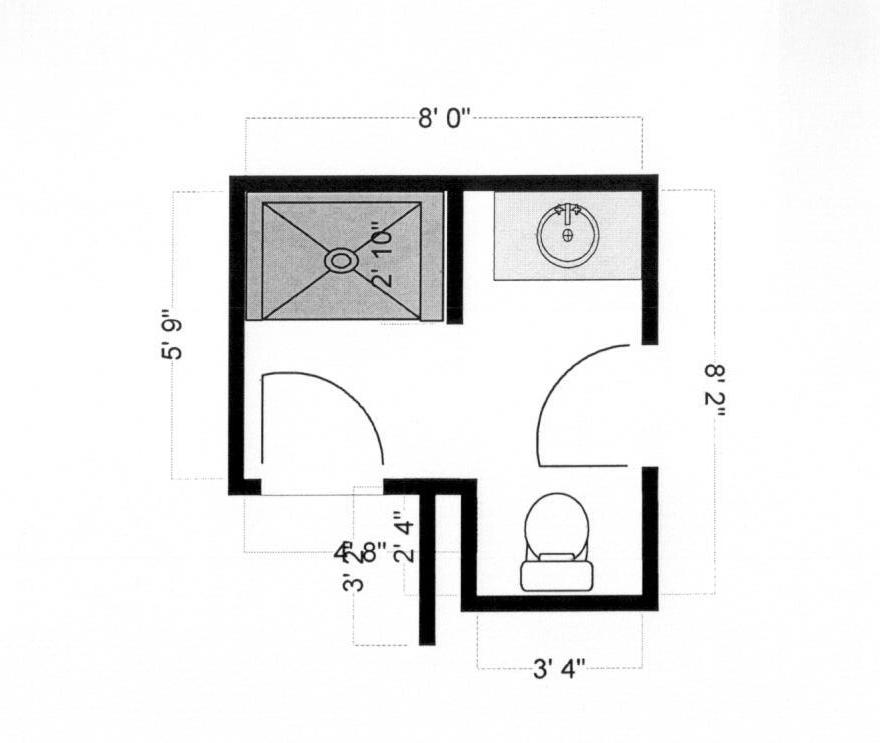
The shower will sit here
We thought we were done - but if you know how construction projects work you already know that we were not done.  We assumed that the sink drain connected to the toilet.  So cut the trench and find the pipe, right?  Wrong.  It turns out they weren't connected.  So we cut another section, going around the toilet drain, and I will have to tie it in there.
Here is where we tie into the drain

So my basement sits with a long trench inside a soon-to-be bathroom.  Next I will plumb the drain line and the vent.  Then I will frame the walls and run the water pipes.  At that point, I get to call the inspector and hope it passes.


Thank you, Brett Parsons for helping me!  If you live in the Kansas City area and are looking for a massage therapist, give Brett a call.  If you are a looking for a chiropractor, give his dad, Charles, a call.  They work together at Parsons Chiropractic in Peculiar, Missouri.  You can reach them at (816) 7791022.

One more thing - I discovered a new tool today.  Of course, I have heard of a hammer drill.  Who hasn't right?  But did you know that Makita (and maybe a few other companies) make a combination hammer drill/chisel?  Basically, with the flip of a switch. you can turn off the rotating drill and use the hammer feature only as a chisel.  Want one for yourself?  Here it is at Amazon.  (And yes, I get a small commission if you buy it)

Monday, March 18, 2013

It's Go Time!

After a full year of collecting sheetrock, shower pans and Sakrete, it is time to move to the construction phase of this project.  My plans are finalized and I know what to do.  Now it is time to dot it.  I still need a few items, but at this point I will have to either buy them on the day I need them, or hope to still find them.  Enough waiting... let's go!

The launch of the construction phase was initiated by the application for a building permit.  I guess I should have done my homework.  I thought a building permit for a 100 square foot bathroom would only cost $50 or so.  But after applying for a plumbing permit, an electrical permit and a general permit, the final cost was $231.  Oh well.  Someone has to pay for the inspectors' salaries- and the conservative in me says it ought to be those using the services and not the general public taxpayers.  And a building permit really connects me to some additional resources.  For instance, when I applied for the permit, I asked the inspector if building code allows me to connect PVC pipe to ABS pipe.  He was able to save me a lot of research time by giving me the official answer.  (Which, if you are interested, is "yes, provided you use the proper fitting).

So, I must ask for an exception to the "free" part of this project. In this crazy endeavor to do a free bathroom, I cannot conceive of how I could ever obtain a building permit for free.  And yes, for this project of this extent, and especially since I am broadcasting its progress to the world, a building permit is necessary.  So, with your permission, I will not count the cost of the permit in consideration of the free-ness of the project.  If that is not okay with you, you might want to then think of this as the $231 bathroom.

Step one of the project will be to cut the floor and connect a drain line from the shower to the current drain at the sink.  My friend Brett has a large concrete saw and has volunteered to help!  (That will be much easier than using a carbide blade on my circular saw).  Anybody have an electric jackhammer that I might borrow to break up the concrete?  (That would be much easier than using a sledge hammer)

So here we go....

Thursday, December 6, 2012

Floorplan Re-Design

Yes, I am still working on this bathroom project.  After almost a full year of gathering materials and planning the project, it is now time to start working.  I am almost ready to submit my application for a building permit.

As I put the project plans on paper, I decided to set some of the actual pieces in place to get a better idea of the layout.  Since I am not an architect, what looks good on paper doesn't translate well to an accurate mental picture of the finished project.  My suspicions were correct.  My original floorplan was much too small. 

I know what you are thinking.  I should have done this much earlier!  However, it required moving one of the framed walls.  It was a no-going-back-now moment!  So in order to relieve the ultra-cramped space, I decided to move the wall further out and turn the shower ninety degrees.  This will create more space for a person going into and coming out of the shower.

The only problem is that now I need more tile to cover the floor and more drywall to cover the walls and ceiling!  Oh well, it is time to move forward!

Having said that- here is the revised floorplan:
For reference, here is the previous version.  Notice that space in front of the shower.  I now know that 3 feet is not enough space!

Thursday, September 6, 2012

Full Sheets of Drywall

I couldn't believe it when I saw the post.  Full Sheets of drywall!  The guy had recently finished his basement and had leftover drywall.  He lived in one of those outlying towns that many people think are "way out in the country" when in reality they are merely the outer edge of the metro area.  In other words, one of those towns that will be overlooked.  I told him I couldn't come until the next evening.  Someone had already asked for it but failed to show.  He offered it to me.
Sorry for the boring picture.  Drywall is not very photogenic.

So we took a little family drive and picked up some drywall.  It is not easy to transport full sheets of drywall, plywood, or anything that comes in a standard 4 foot by 8 foot sheet.  The inside of my minivan was purposefully made to be a tight four foot width!

It worked out, though.  We stopped for ice cream on the way home.  Later, I unloaded six full sheets of drywall in the blazing August heat, carrying them downstairs, around a tight corner, and stacked against the wall.

He also gave me a few cut-offs and partial sheets.  Don't laugh- they will go farther than you think they will!

By the way, if you have ever wondered what is the real name for this stuff- "drywall" or "sheetrock" the answer is, drywall, or even gypsum board.  Sheetrock is a very popular brand of drywall, which, because of its popularity, has become a common term of reference.  (Kind like folks in Oklahoma who refer to any kind of soda pop as "coke."  Seriously, a coke Sprite?)

Monday, September 3, 2012

I Bought Some Lighting!

If you read the title, you may be wondering if I am giving up on the free part of this free bathroom project.  Not really, but just kind-of, sort-of.  You may remember that I sold a few items that I originally obatined for free and then decided not to use.  For instance, that white 6 panel door- sold it off for $10.  So before purchasing these lights, I was up $47.  Now I am down to $32.  For all you math geniuses, I spent $15.

But I got 3 lights!  And that is probably all I will need in this small bathroom.

Here is the story.  I have been searching hard for lighting!  Vanity lighting, recessed lighting, track lighting, natural lighting, or you name it.  For a while I thought I would have to settle for flashlights!  When it comes to lighting, there is not much of Craigslist.  And what there is leaves much to be desired.  Not that I am complaining about free, mind you.  But remember rule #2- this bathroom has to be visually appealing.  No avocado green toilets, no glitter-infused clamshell sinks, and no yellow brass chandeliers!

After having no luck finding lighting, I saw a listing for some items removed from someone else's bathroom renovation.  Those items included 2 recessed "can" lights and a vanity light that sits above the mirror.  I offered him $5 each- or $15 for all of it. Now they are mine!  Here is one place the spray paint comes in.  When done correctly, spray paint can add a quick, evenly-covered coat of bright paint over rusty tin, such as the baffle of a recessed light.  Good as new!

Lighting is really important in bathrooms.  Many bathrooms feature small square footage and small windows.  The result- a dark, claustrophobic bathroom.  In my project, the bathroom will have no outside windows and will only have seven foot ceilings (neither by my choice).  I need to do everythign I can to make the bathroom feel spacious!  That means I will need lots of light and lots of bright, fresh colors on the walls, floors and ceiling!  For this reason I will most likely wire all three lights to the one wall switch so that when you walk in and turn on the lights you are flooded with lots of light!

Friday, August 31, 2012

Paint: To Antique the Vanity?

I was at home.  The location listing on Craigslist showed Belton- our sister city (and arch-rival!).  I knew I might need some more paint to complete this bathroom project.  The picture also showed a can of white spray paint- and I have a very specific need for some of that!  So I loaded the kids in the van, drove a whopping 3 miles and received a load of used paint from a guy who was cleaning out his garage.


Of course, it was a hot day, and as he kept himself busy cleaning out his garage, his young kids were playing in the sprinkler in the yard.  That inspired my two kids, and before I could get the paint out of the back of the van, our sprinkler was dispensing water to the giggly delight of Olivia and Easton.

Seriously, though, I found in the pile of paint a nice surprise: a couple of cans of antique paint.  You know, the kind you use to make new stuff look like old stuff.  Erica has been consdering painting my beautiful vanity black to add some pop to the bathroom.  At first I was cool to the idea, but the more I think about it, the better it sounds.  How about a black vanity, antiqued and distressed?

Below is a sample picture of a new, made-for-retail vanity, with a distressed-black color.  The color scheme would then be:  black vanity, white sink, toilet shower base and wall tiles, and earth-tone tile on the floor.  Any thoughts?
Source:  www.homeportfolio.com

Tuesday, August 28, 2012

The Long Awaited Bathroom Update: A Shower Faucet

Has it really been two and a half months since I posted the last update?  Wow!  Sorry about that!  Honestly, the progress has been slow.  There are a few reasons, and about eight million excuses.  First of all, Craigslist made some changes and shut down a couple of my favorite search-assistance programs (more on that later).  Second, I am down to a small list of items that I need, so my searching is very specific these days.  Third, I have been crazy busy with church activities, family vacations, family fun, etc.  Finally, we have experienced the hottest Kansas City summer in sixty years.  So basically, if I wasn't running somewhere with my family, I was sitting on the couch in the air conditioning.

I have wondered if anyone other than a few local friends follow my progress.  I was pleased to hear from an old friend that he enjoys reading the updates in this crazy project.  So I will keep writing!

What treasure might a small box hold?
My first find of the summer was a big one!  Actually, the packaging was rather small.  An offer on Craigslist for a small box of plumbing parts containing the guts of a bathroom update.  The picture showed a shower faucet valve and knobs.  After several emails and attempts to connect, I finally piled the kids in the car, drove for what seemed like forever, and found the house with the small box of plumbing parts sitting on the front porch.

When I got home and opened the little potential-treasure box, voila a shower faucet, complete with the rough-in valve housing, valve stems, knobs, shower head, arm, and plenty of flanges.  From a quick online search, it seems that these kits start at $80 at the local big box home improvement store.

From top: Shower head and arm, valve housing, knobs, flanges
This was another one of those really specific items that I wondered how long I would have to wait to find!